
To run a Tails VM, download the current ISO from tails.net, verify it, create a new guest with the hypervisor's normal Linux settings, attach the ISO as optical media, and disable shared folders, clipboard, drag and drop, and saved snapshots unless you have a clear reason to use them. A VM keeps the host operating system and hypervisor inside the security boundary, so use it for learning or a threat model that accepts that dependency.
What a Tails VM can and cannot do
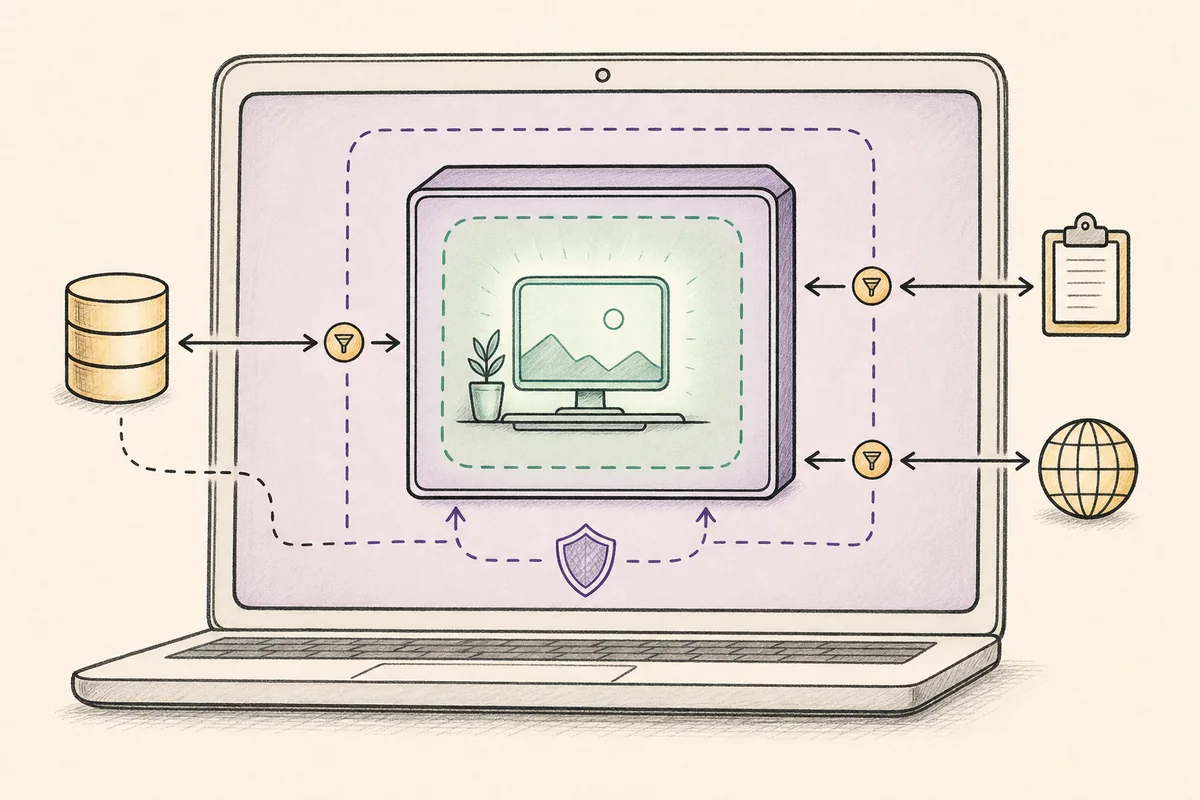
A Tails virtual machine is a guest operating system running in a window on Windows, macOS, or Linux. It lets you explore the Tails desktop, wait for a Tor connection, and test a documented workflow without restarting the computer. The normal setup uses an ISO as virtual optical media, while the USB image is intended for writing to removable media and direct boot.
The convenience changes the security model. The host controls the hypervisor, physical network adapter, firmware, storage, and often the virtual machine memory and snapshots. A compromised host can observe or alter a guest, and a person with access to the host can inspect its files or logs. Tor routing inside the guest does not hide the existence of the VM from the host or make a host account anonymous.
Use a Tails VM when the goal is a controlled demonstration, a compatibility check, or a disposable lab that accepts host dependence. Choose a verified USB when you need the normal Tails workflow, easier Persistent Storage, portability, or a stronger separation from an everyday operating system. The useful decision is the boundary you can trust, not the visual appearance of a Tails window.
- A VM avoids a reboot and is convenient for training or testing.
- The host, hypervisor, firmware, and virtual disk remain in scope.
- A VM does not make personal accounts, documents, or behavior anonymous.
- Use the official USB path for normal recurring Tails sessions.
| Decision | Tails VM | Verified Tails USB |
|---|---|---|
| Learn the interface | Convenient | Works, but requires a reboot |
| Distrust the everyday host | Poor fit because the host stays in control | Better separation when hardware supports it |
| Persistent Storage | Virtual disk and hypervisor dependent | Normal supported workflow |
| Portability | Tied to the host and VM files | Carry the dedicated USB |
| Hardware compatibility | Only emulates hardware | Tests the real computer |
A successful Tails VM boot proves that the guest can start in that hypervisor. It does not prove that a physical USB will boot or that the host cannot inspect the session.
Download and verify the Tails ISO
Start at the official Tails download pages rather than a mirror, video description, or file-sharing link. The download page changes as releases change; on November 16, 2026, its release notes link identified Tails 7.12. This page deliberately does not hard-code a version or file size because a VM guide should keep sending you to the current first-party instructions.
Save the ISO in a normal Downloads folder or in the storage location recommended by Tails. Do not save the only copy inside the guest, and do not rename it until verification is complete. A partial download, an interrupted transfer, or an ISO from an untrusted source can create a boot failure that looks like a hypervisor problem.
Verification is part of the VM setup, not an optional extra. Complete the official verification before attaching the image to VirtualBox, GNOME Boxes, VMware, or Proxmox. If the check fails, download again from tails.net and investigate the transfer before changing VM settings.
- Use tails.net for the ISO and its matching verification flow.
- Keep the downloaded file outside the guest until it has been verified.
- Do not extract the ISO before attaching it as optical media.
- Treat a failed verification as a download problem first.
- 1
Open the official page
Check the address bar for tails.net and choose the current ISO option intended for virtual machines or documented advanced use.
- 2
Download the release
Keep the ISO in a known folder and read the current release notes for changes or known issues.
- 3
Run verification
Use the official browser verification flow or the documented method for your current Tails release.
- 4
Keep one traceable copy
Record which release you verified and remove ambiguous duplicate files before attaching the image to a new guest.
Configure a safer VirtualBox or GNOME Boxes VM
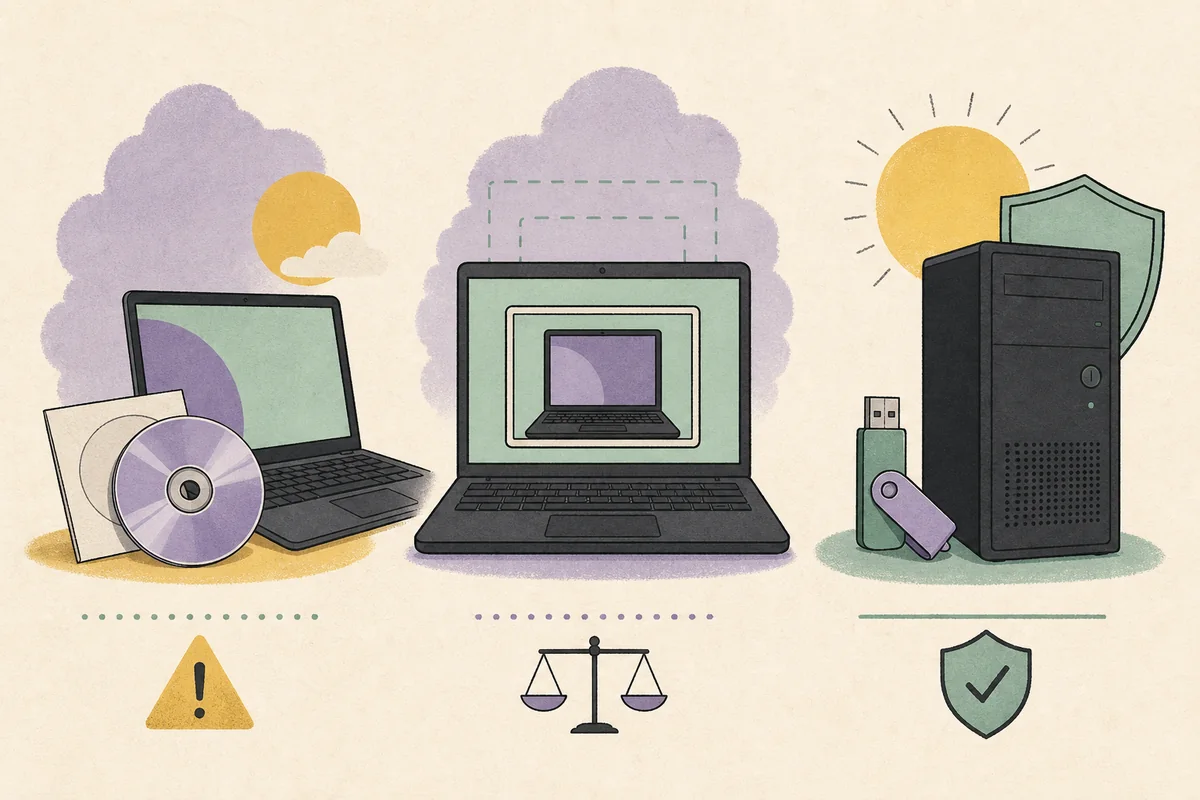
Create a new guest instead of attaching the ISO to a personal VM that already contains accounts, shared folders, or snapshots. Select a current 64-bit Linux profile when the hypervisor offers one, and follow the current Tails requirements for memory, processor features, and display. Avoid inventing a resource number that may become stale; if the guest is slow, increase resources only within what the host can safely provide.
Attach the verified ISO to the virtual optical drive and place that drive first in the guest boot order. Keep the virtual network in the mode recommended by the official documentation for your goal. A network setting can change what the host and local network can observe, so do not describe one adapter mode as universally private or safe.
The most important configuration is the integration surface. Turn off shared clipboard, drag and drop, shared folders, host-mounted drives, and automatic USB passthrough unless a documented task needs one of them. Every enabled bridge is a way for text, files, or device state to cross between the guest and host. If you enable one temporarily, disable it again before sensitive work.
Use a fresh virtual disk and a clear name that includes the purpose and release date. Do not store a VM image in a cloud-synced personal folder or an unencrypted external location without understanding who can read it. A VM file can contain the guest disk, saved memory, configuration, logs, and snapshots even when the Tails session itself is designed to forget ordinary state.
- Start with a new guest and a current 64-bit Linux profile.
- Attach the ISO as optical media and confirm the boot order.
- Disable clipboard, drag and drop, shared folders, and unnecessary USB access.
- Keep the virtual disk, snapshots, and logs in a controlled location.
- Use current Tails documentation for supported hypervisors and resource guidance.
- 1
Create a new guest
Choose a descriptive VM name, a supported 64-bit Linux type, and a new virtual disk rather than reusing a personal guest.
- 2
Set conservative resources
Give the guest enough memory and processor capacity for the current Tails requirements while leaving the host responsive.
- 3
Attach the ISO
Select the verified ISO in the virtual optical drive and put that drive before the empty virtual disk in the boot order.
- 4
Review network and display
Use documented network and display defaults, then remove extra adapters, webcams, audio devices, and host integrations you do not need.
- 5
Disable transfer paths
Turn off shared clipboard, folders, drag and drop, automatic USB mounting, and saved-state features before the first boot.
| Surface | Safer starting choice | Why it matters |
|---|---|---|
| Clipboard | Disabled | Prevents accidental text transfer |
| Shared folders | Disabled | Keeps host files outside the guest |
| Snapshots | Disabled until understood | Can retain old disk or memory state |
| USB passthrough | Only when required | Connects physical devices to the guest |
| VM storage | Controlled local location | Configuration and disk files can reveal activity |
Boot Tails and review integration settings
Start the guest with the verified ISO connected. The first screen should be the Tails welcome flow rather than a host operating system or a generic boot error. If the hypervisor reports that no bootable medium exists, stop and check the ISO path, optical-drive attachment, and boot order before changing CPU or network settings.
Once the desktop appears, wait for the Tor connection process and test only the workflow you intended to learn. Do not sign into a personal account simply because the browser opens. The host can still know that virtualization software is running, and a service can still associate activity with an account or an identifying document.
Before doing anything sensitive, re-open the VM settings and confirm that the hypervisor did not silently re-enable clipboard sharing, guest additions, a shared directory, a webcam, or a saved snapshot. Hypervisor updates and imported appliance defaults can change these values. Treat the settings review as part of every fresh guest, not as a one-time checkbox exercise.
- Confirm the guest starts from the verified ISO, not an old virtual disk.
- Wait for Tor to connect before judging a site or application unavailable.
- Keep personal accounts and identity-linked documents out of the test session.
- Review integration settings again after importing, cloning, or updating a VM.
- 1
Start from optical media
Power on the new guest with the ISO attached and watch for the Tails welcome screen.
- 2
Wait for the network
Allow the Tor connection workflow to finish before testing a browser or download.
- 3
Run the smallest test
Open only the page or feature needed for the learning objective and avoid identity-linked logins.
- 4
Recheck the host bridge
Inspect clipboard, folders, snapshots, USB devices, and guest tools before continuing.
A page that blocks Tor or needs an ordinary browser is a different workflow. Move that task to a suitable trusted system instead of adding extensions or turning the Tails guest into a general desktop.
Persistent Storage and data handling in a Tails VM
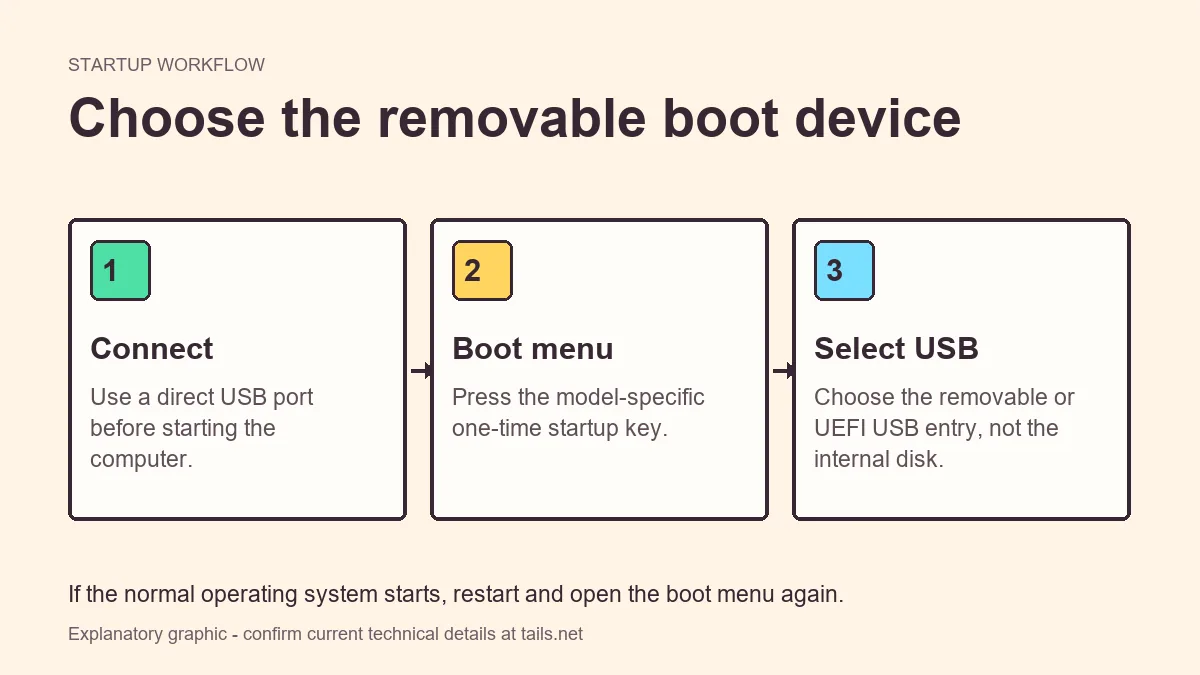
Persistent Storage is more complicated in a VM because the hypervisor owns the virtual disk and its retention features. A DVD is read-only, while a virtual disk can be copied, snapshotted, backed up, or inspected by anyone who can access the host. Do not assume that a persistent volume inside the guest has the same operational properties as a dedicated Tails USB.
If a documented test requires persistence, create it only after the base ISO and guest configuration are verified. Keep the virtual disk in a protected location, turn off automatic snapshots, and plan how you will back up or delete it. Do not place identity-linked files in persistence merely to make a demo convenient. A later export or host backup can preserve the file after the guest shuts down.
For repeatable everyday use, a dedicated verified USB is usually easier to reason about. It supports the normal Tails update and storage workflow and can be removed from the host when the session ends. A VM remains useful for learning, but the host boundary should be stated every time the setup is shared with another person.
- Treat the virtual disk as host-controlled data.
- Disable snapshots and saved memory unless a test explicitly needs them.
- Back up or delete persistent VM data deliberately, not by assumption.
- Use the USB guide for normal Persistent Storage and recurring sessions.
| Data path | Possible retained state | Review before use |
|---|---|---|
| Guest disk | Persistent files and settings | Host permissions and backup location |
| Snapshot | Older disk and memory state | Disable or delete after testing |
| Shared folder | Files copied between host and guest | Keep disabled unless required |
| Clipboard | Copied text or commands | Disable during sensitive work |
| Exported document | Metadata and identity clues | Inspect before moving to another system |
A verified ISO proves the release file was checked. It does not make a host-controlled virtual disk, snapshot, or backup invisible.
Diagnose boot, network, and performance problems
Start with the simplest boundary: file, optical drive, and boot order. A zero-byte ISO, a partial download, a disconnected virtual CD drive, or a virtual disk placed before the ISO can all produce a black screen or a “not bootable” message. Re-verify the ISO before downloading another hypervisor or copying a random configuration from a forum.
If Tails starts but Tor does not connect, separate guest networking from the service itself. Confirm that the host is online, that the VM has the single adapter required for the test, and that the system clock is reasonable. A site may also reject Tor or fail because its scripts are incompatible with the browser's privacy settings. Do not disable protections just to make one page look normal.
Slow performance usually means that the host is short on memory or processor capacity, the display adapter is poorly configured, or the guest is competing with another workload. Close unrelated host applications, confirm that virtualization support is enabled, and adjust resources within the official requirements. If the physical machine is the target, move to a verified USB test: a VM cannot reveal real Wi-Fi, graphics, firmware, or startup-menu problems.
- Re-verify the ISO before changing the hypervisor.
- Check optical attachment and boot order for “not bootable” errors.
- Classify Tor, host-network, clock, and site-blocking symptoms separately.
- Use a physical USB to test real hardware compatibility.
- Do not install unverified guest tools or browser extensions as a shortcut.
- 1
Verify the input
Confirm the ISO is complete, verified, attached to the optical drive, and selected before the empty disk.
- 2
Check the guest
Review the 64-bit profile, memory, processor count, display controller, and single intended network adapter.
- 3
Wait for Tor
Let the connection workflow finish, then test a second page to distinguish a service block from a local failure.
- 4
Move to hardware
When the question is Wi-Fi, graphics, UEFI, Secure Boot, or USB startup, use the verified USB and the relevant hardware guide.
Know when to move from a VM to a verified USB
A Tails VM is a useful learning environment when its limitations are visible. It helps you understand the desktop, Tor Browser, and the general live-session flow without interrupting the host. It is a poor replacement for hardware boot when the host is outside your trust boundary, when you need portable sessions, or when your threat model includes someone who can inspect the host.
Use the VM as a checkpoint, not as a promise. Verify the ISO, keep integration paths closed, test the smallest workflow, and record what the host can still observe. When the task becomes recurring or requires normal Persistent Storage, follow the official USB installation and verification guides. Keep the ISO link and this page nearby because supported virtualization details can change with a release.
The safest page-level decision is simple: choose a VM for an explicitly accepted host dependency, choose a USB for the normal Tails experience, and choose an ordinary trusted system for work that needs personal accounts or a familiar browser profile. Naming the boundary makes the setup easier to troubleshoot and harder to misunderstand.
- VM for learning, compatibility checks, and a defined lab threat model.
- USB for portability, recurring sessions, and the normal storage workflow.
- A separate trusted system for identity-linked everyday browsing.
- Re-read official virtualization guidance after major Tails releases.
Tails VM checklist before you start
Use the official Tails ISO page, verify the image, and create a new guest whose purpose is clear. Review the host boundary before the first boot: the hypervisor, virtual disk, snapshots, physical network, and host logs all remain relevant to what the session can expose.
Keep the integration surface small. Disable shared clipboard, shared folders, drag and drop, automatic USB access, saved memory, and unneeded devices. If a test needs one of them, enable it for the shortest possible time, document the reason, and turn it off again before handling sensitive data.
When the question changes from “Can the guest start?” to “Will this real computer boot safely?” or “Can I rely on Persistent Storage every day?”, stop using the VM as evidence. Move to the verified USB workflow and read the current Tails documentation for the release you downloaded.
- Verify the ISO before attaching it.
- Treat the host and hypervisor as part of the security boundary.
- Keep transfer paths and retained state disabled by default.
- Use a verified USB for normal Tails sessions and real hardware tests.
Tails VM FAQ
Can I run Tails in VirtualBox?
The official Tails documentation describes running Tails in a virtual machine with an ISO. Use the current supported guidance, verify the ISO, and remember that VirtualBox and the host remain inside the security boundary.
Can I run Tails in VMware or GNOME Boxes?
A hypervisor may be able to boot the official ISO, but support and settings can change. Check the current Tails virtualization page and keep integrations disabled unless the documented task needs them.
Is Tails in a VM as private as Tails from USB?
Usually no. The host controls the hypervisor, memory, storage, network hardware, and often snapshots. A verified USB is the safer default when the host is not trusted.
Do I need the Tails ISO or USB image for a VM?
The ISO is the usual virtual optical media choice. The USB image is intended for writing to removable media and direct boot; follow the official page when a release gives a specific exception.
Can Persistent Storage work in a Tails VM?
A virtual disk can hold persistent data, but the hypervisor and host control that disk, its backups, and its snapshots. Do not treat it as equivalent to the normal dedicated USB workflow.
Why does my Tails VM show a black screen?
Verify the ISO, confirm the optical drive is attached, check the boot order and current 64-bit profile, then review display resources. Use a physical USB for hardware-specific startup problems.
Should I enable shared clipboard or folders?
Keep them disabled by default. They create direct transfer paths between the host and guest. Enable one only for a documented, low-risk task and disable it again afterward.
Technical facts and downloads should be confirmed against the official Tails virtualization documentation. This independent guide does not host or modify Tails images.